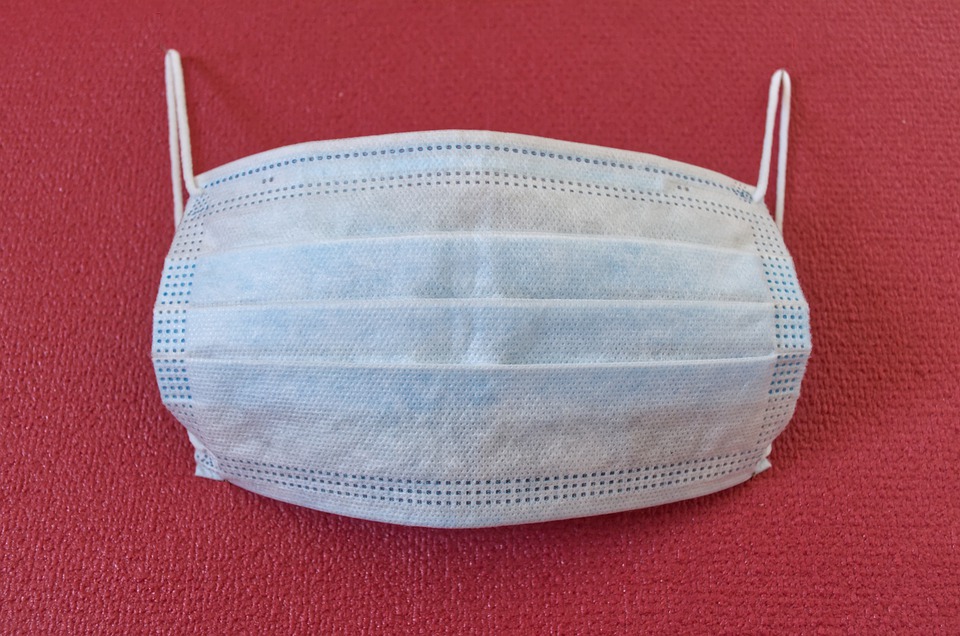
How to Make a DIY Facemask
If you had been living on a desert island for the last six months, on your return you would probably wonder why so many people are now walking around with their faces covered with masks at the moment. The answer is, of course, that we are in the middle of a global pandemic.

Facemasks have long been popular in East Asia among people who are ill and responsibly want to protect others around them. For people in Europe and the US, though, many of us will have never worn a mask for this purpose. Nonetheless, this has changed dramatically recently as people have sought to do their bit to stop the spread of the deadly virus.
With so many people buying masks these days, there have been some serious shortages in the store. In this post, we will show you how to make your own facemask which is cheaper and just as effective as anything you will be able to buy.
- Find an old t-shirt and cut two one-inch-thick strips along the bottom edge with a cutter or Stanley knife. These will serve as ties, so make sure you cut as straight and even as you can. You should be left with two thin bands of material.
- The next step is to cut the material for the main part of the mask. Cutting cross-ways again, cut another strip from the bottom part of the t-shirt. For an adult, you will need an eight-inch width, and for a child, you will need a six-inch width. You will be left with a band.
- Take the band and remove the edges with the cutter. The parts that you will cut off are those which would touch your side if you were wearing the t-shirt. You will be left with two rectangles once you have cut both sides. You will only need one of these – you can use the other to make another mask.
- Take the strips that you cut off for the ties and remove the seam with a pair of scissors.
- Put the main section of material out in front of you horizontally. Measure about four inches from the right side and lay one of the ties vertically. Do the same with the other side and the other tie.
- Fold each end of the main strip in so they cover the ties, meeting in the middle and overlapping a bit.
- Tie the two ties at the top of the mask together in a knot. This part will go over your right ear. Then, tie the two ties at the bottom together in a knot. This par will go over your left ear.
- And there you have it! Your own homemade mask!
Now you have a mask that is comfortable and should help to protect you and those around you. Please remember to wash it often (preferably after every time you wear it) to make sure it is not contaminated.
